 SCL Events
Build your event's showcase page
Your event's public website: sections, photos and video, the menu, the theme, and publishing.
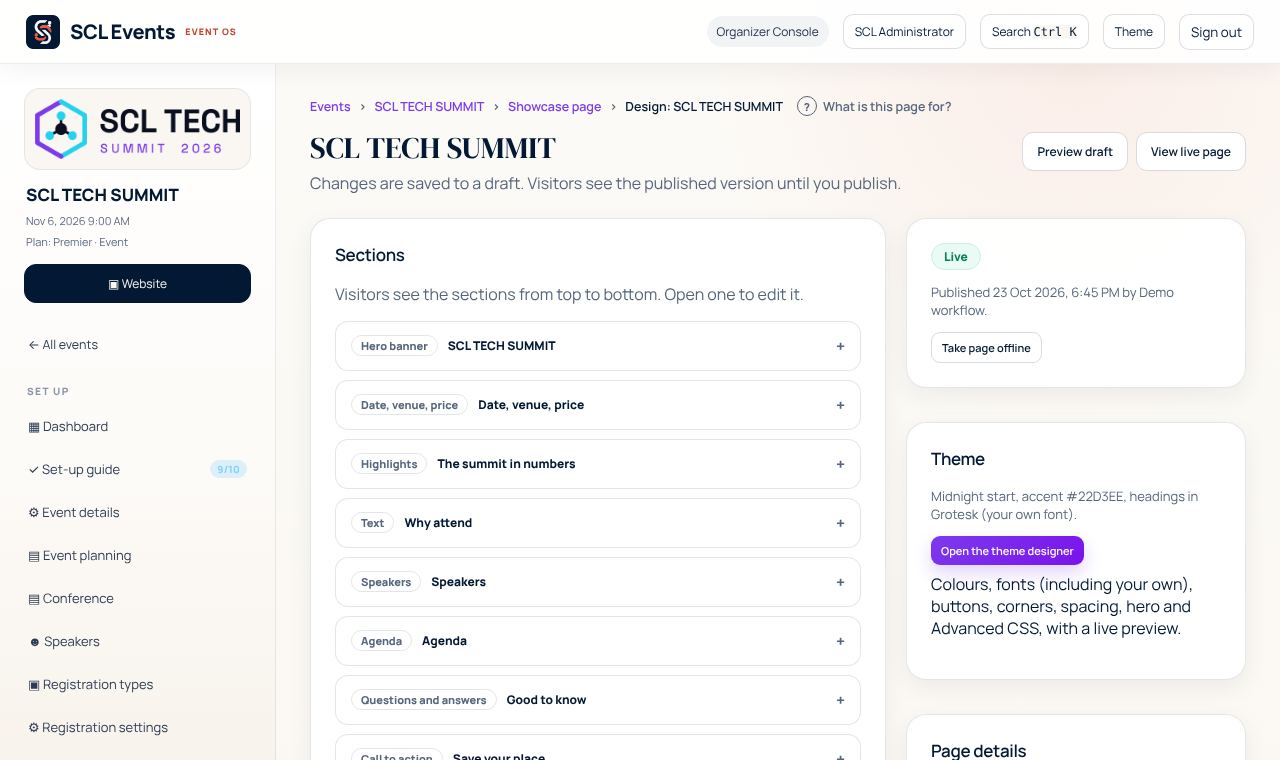
Open the page
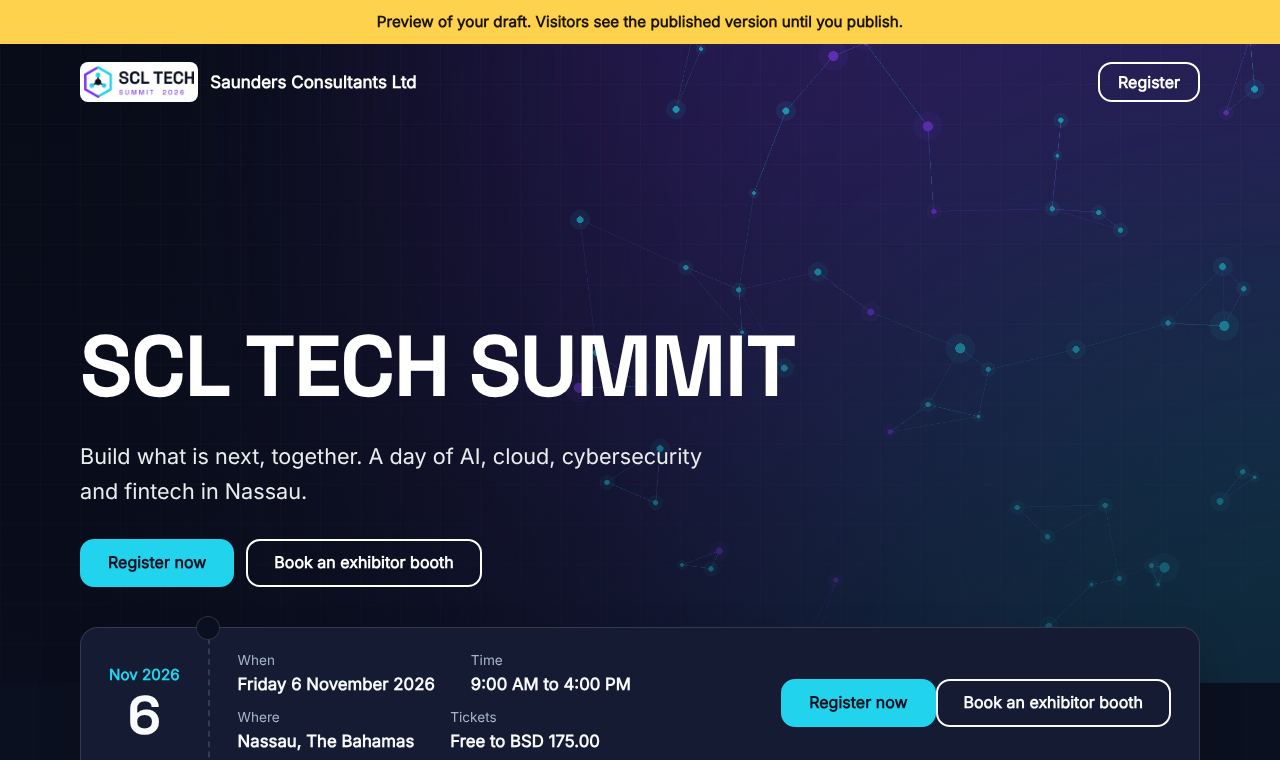
Where: The event › Website & brand › Showcase pageThe page starts from a ready-made draft built from your event. Every change goes to the draft; visitors see the published version until you publish. Preview draft shows the draft as visitors will see it.
From the demo event. Your screen shows your own event. Add your photos, videos and files
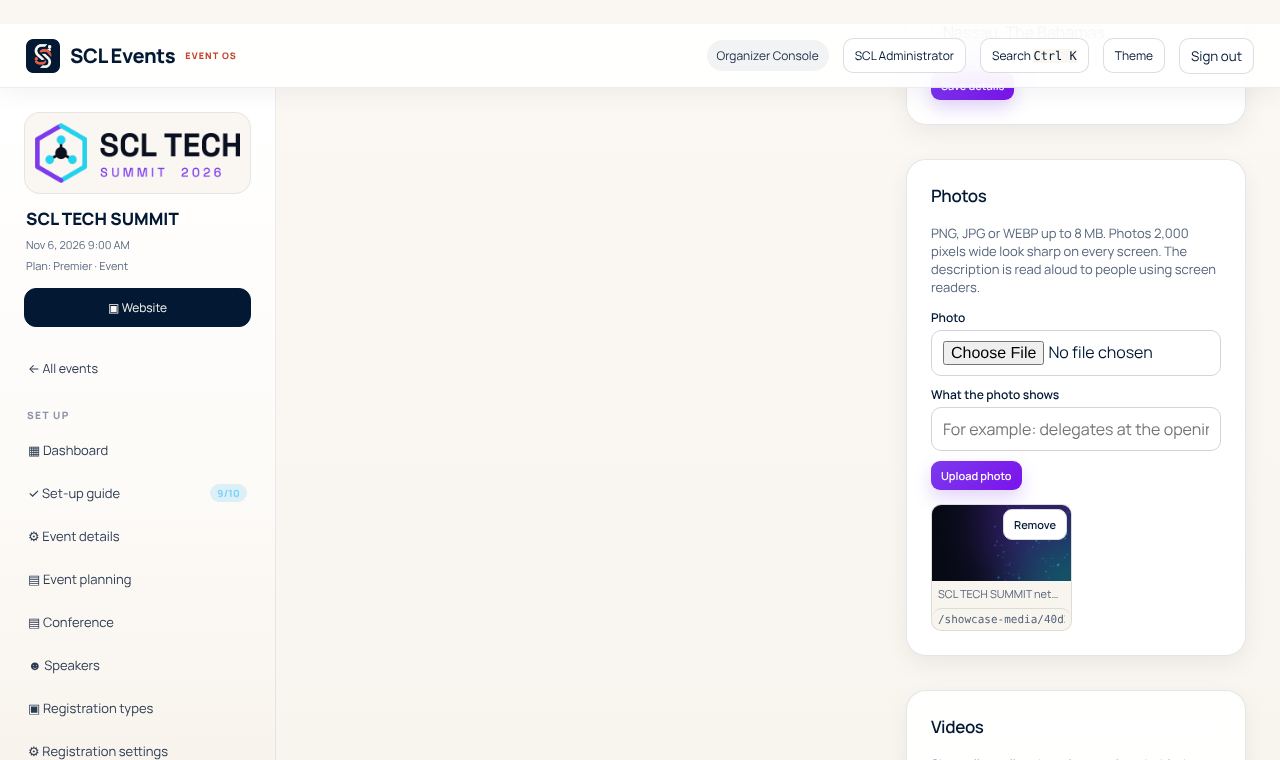
Where: Showcase page › Photos, Videos and FilesPhotos: PNG, JPG or WEBP up to 8 MB, about 2,000 pixels wide, each with a description for screen readers. Videos: short silent MP4 or WebM clips for the hero, 3 to 6 MB is ideal. Files: PDFs such as presentations or a magazine, for a Downloads section.
From the demo event. Your screen shows your own event. Edit the sections
Where: Showcase page › SectionsOpen a section, change it and choose Save section. Move up, Move down, Hide from page and Remove section arrange the page. Add a section adds a hero banner, text, image and text, gallery, video, highlights, speakers, agenda, sponsors, downloads, questions and answers or a call to action. Each section's Section style sets its background (a colour, gradient or photo with an overlay), alignment and spacing.
Add a menu and a video
Where: Any section › In the page menu as; Hero banner › Background videoGive sections a menu label, such as Speakers or Gallery, and they appear as a menu at the top of the page. On the Hero banner, Background video plays a silent clip behind the headline, from your Videos or from Vimeo.
Set the look
Where: Showcase page › Theme › Open the theme designerStart from a preset, then set your colours, fonts (or upload your own), buttons, corners and the hero's height and overlay, with a live preview.
Publish
Where: Showcase page › Publish pagePublish the event itself first. Then Publish page makes the page live at the event's address, replacing the standard event page, so links already shared keep working. Later changes need Publish changes. Brand › Domains puts it at your own address, such as events.yourcompany.com.
From the demo event. Your screen shows your own event.