 SCL Events
Print badges
Design the badge, set up the badge printer, print a test card and print badges in bulk before the doors open.
Design the badge
Where: The event › Website & brand › Branding Studio › Badge designsEach registration type has its own badge: banner text and colour, background, and what is printed. The preview shows the size and the QR code exactly as they print.
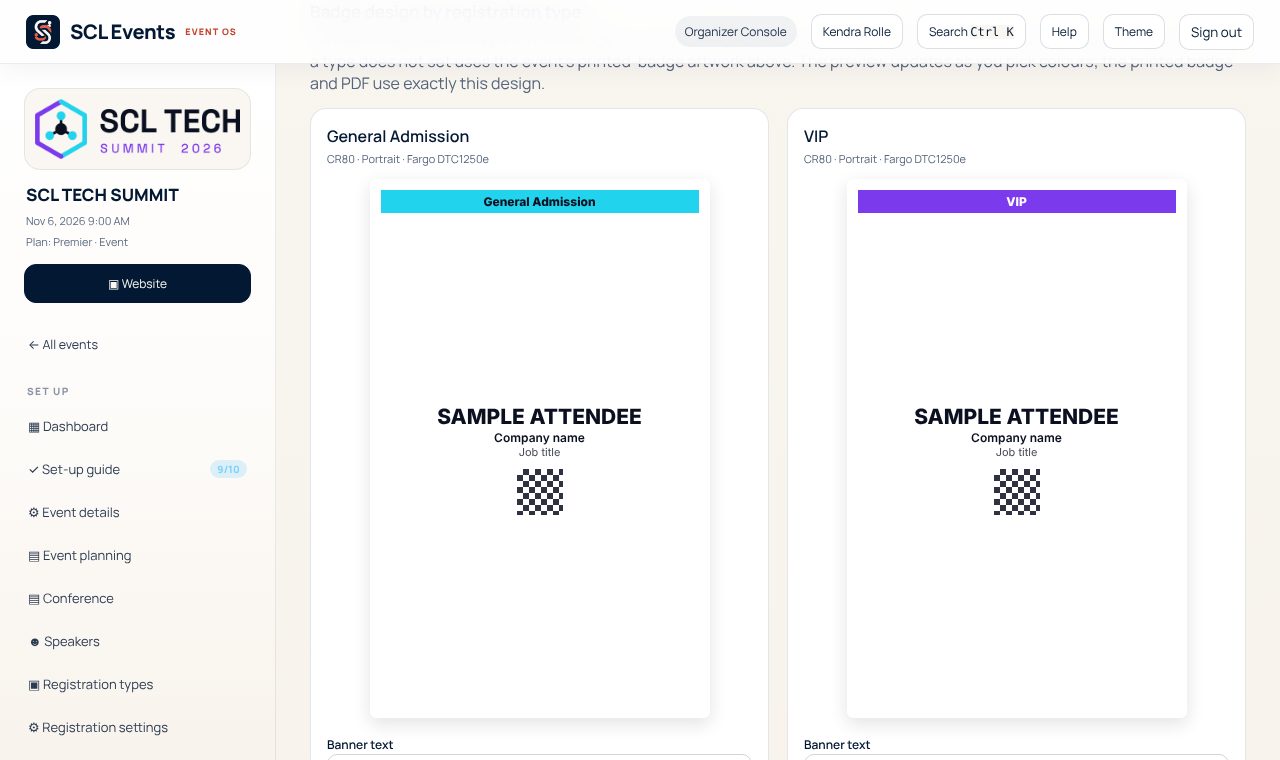
From the demo event. Your screen shows your own event. Set up the badge printer
Where: The event › Event day › Badges & onsiteEach badge printer is listed with the registration types it prints and whether the computer finds it. Follow the set-up steps under it: the driver, the cards or labels, the ribbon and the print settings. While a printer is not found, badges come out as PDF files you can print anywhere.
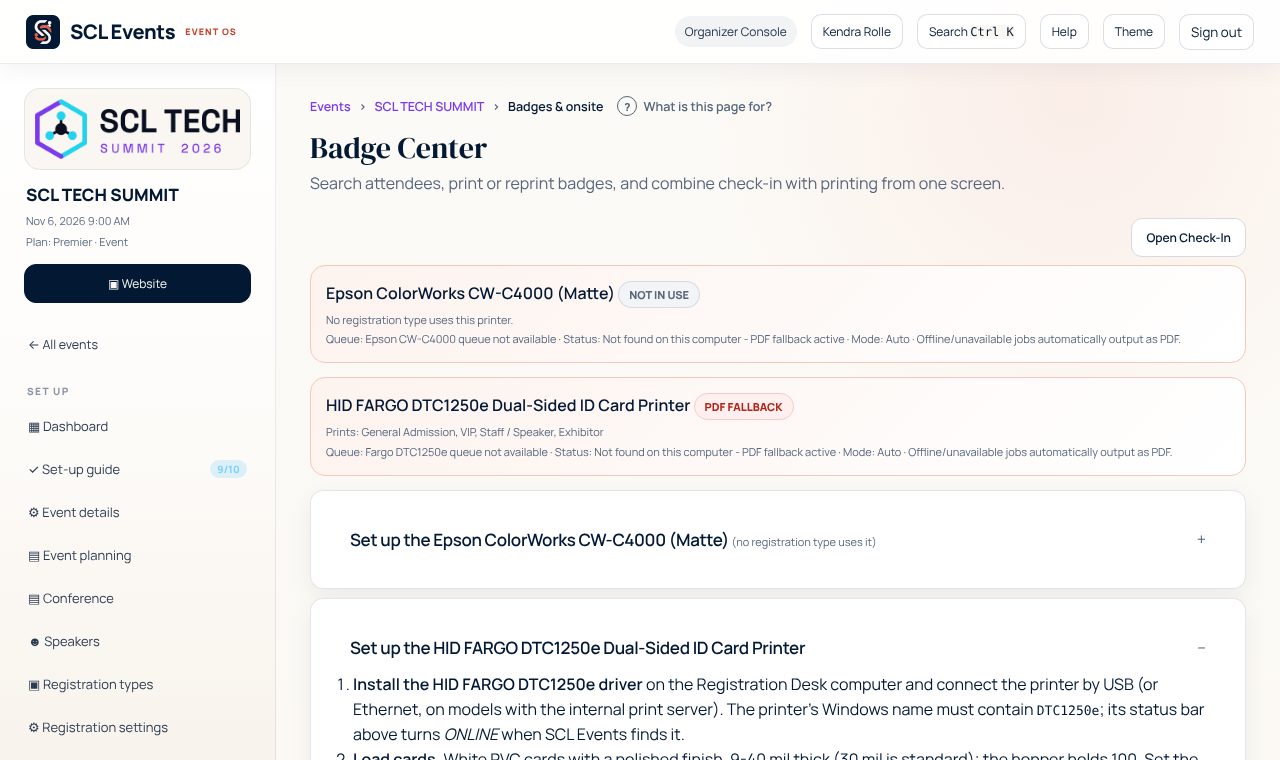
From the demo event. Your screen shows your own event. Print a test card
Where: Badges & onsite › Test cardPrint the test card for your card size. The black box should sit just inside every edge. If it is cut off or upside down on the back, change the printer setting the steps describe, then print the test again.
Print a batch before the doors open
Where: Badges & onsite › Bulk print badgesChoose the registration types (for example speakers, staff and exhibitors), keep Only badges not printed yet, and choose Review badges to print. Badges are sorted by last name and split into one run per printer and card size. To pick individual people, tick them on the Attendees page and choose Print badges.
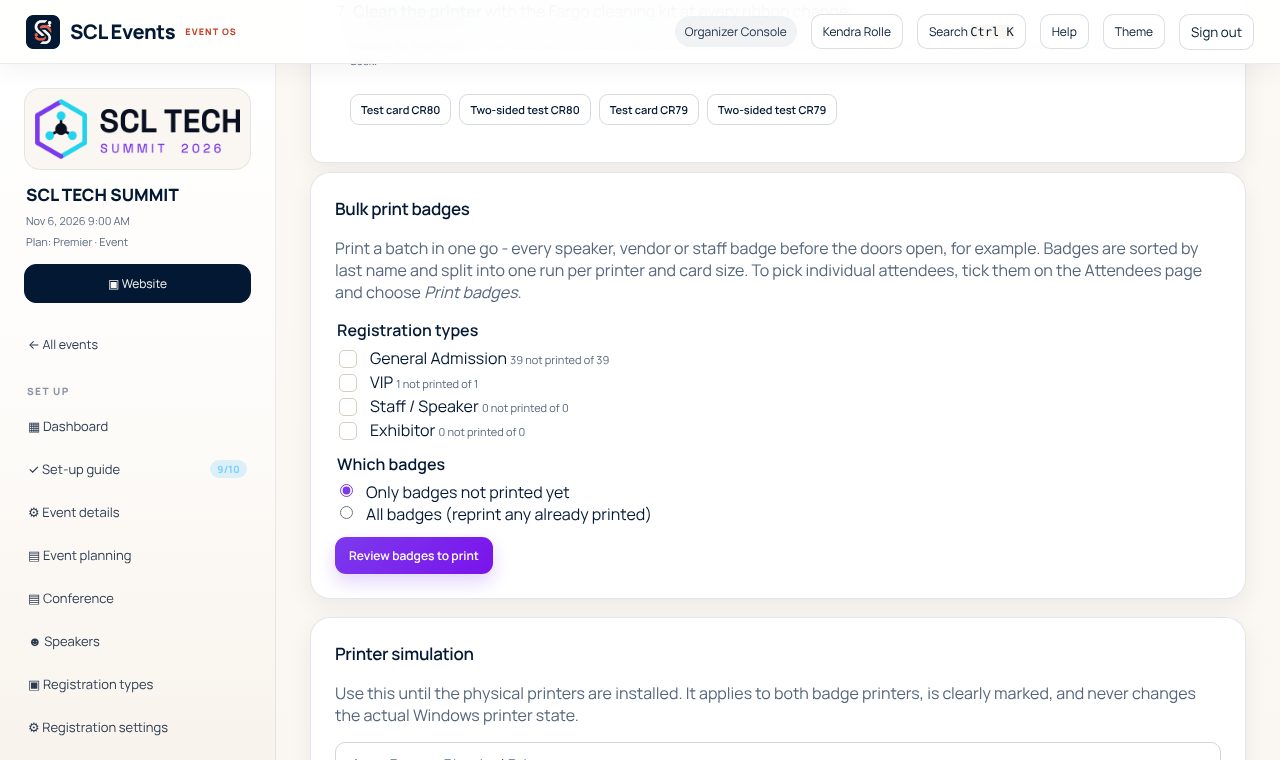
From the demo event. Your screen shows your own event. Print at the desk on the day
Where: The registration deskEveryone else gets their badge at the desk: Print & Issue Badge prints one at a time and checks the attendee in. See Run the registration desk.