 SCL Events
Create and publish your first event
From a new account to an event people can register for: the one-time set-up, the event itself, and publishing it.
Finish Get started
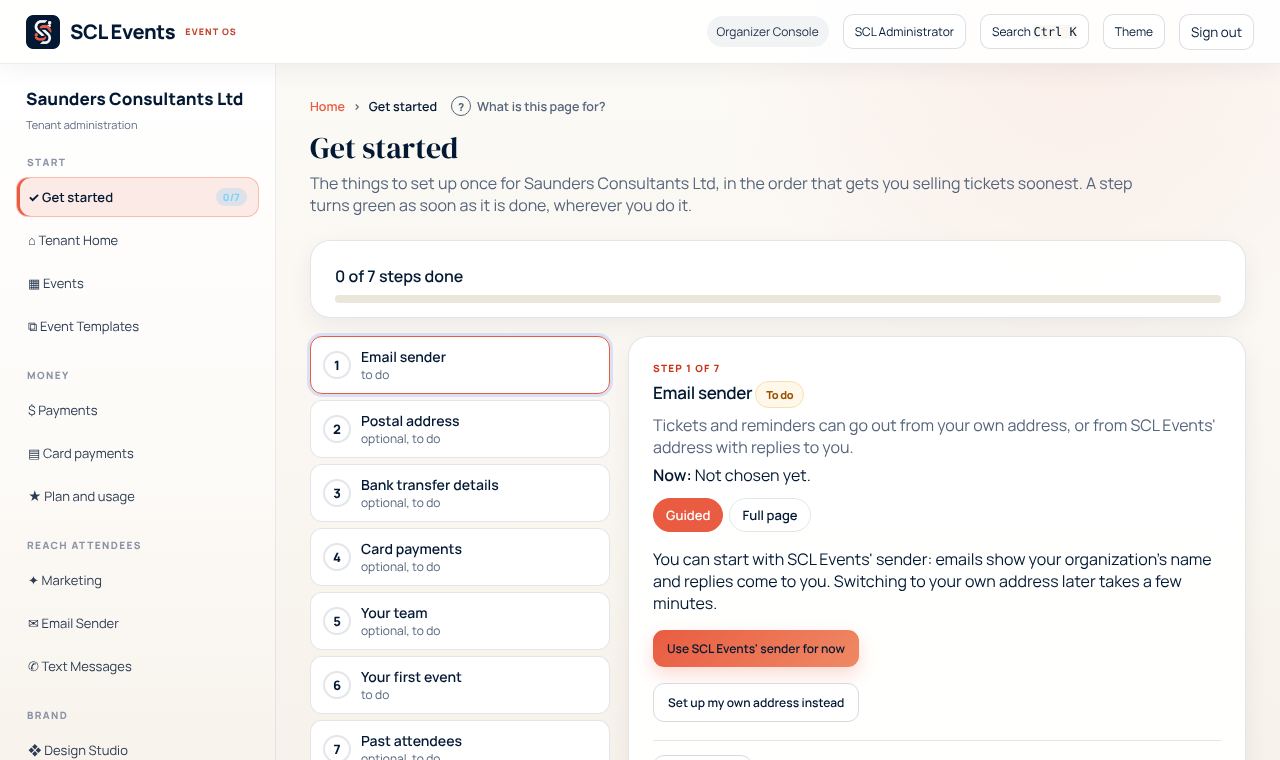
Where: Start › Get startedGet started lists the things to set up once for your organization: Email sender, Postal address, Bank transfer details, Card payments, Your team, Your first event and Past attendees. Work down the list. Optional steps can be skipped, and each step turns green when it is done.
From the demo event. Your screen shows your own event. Create the event
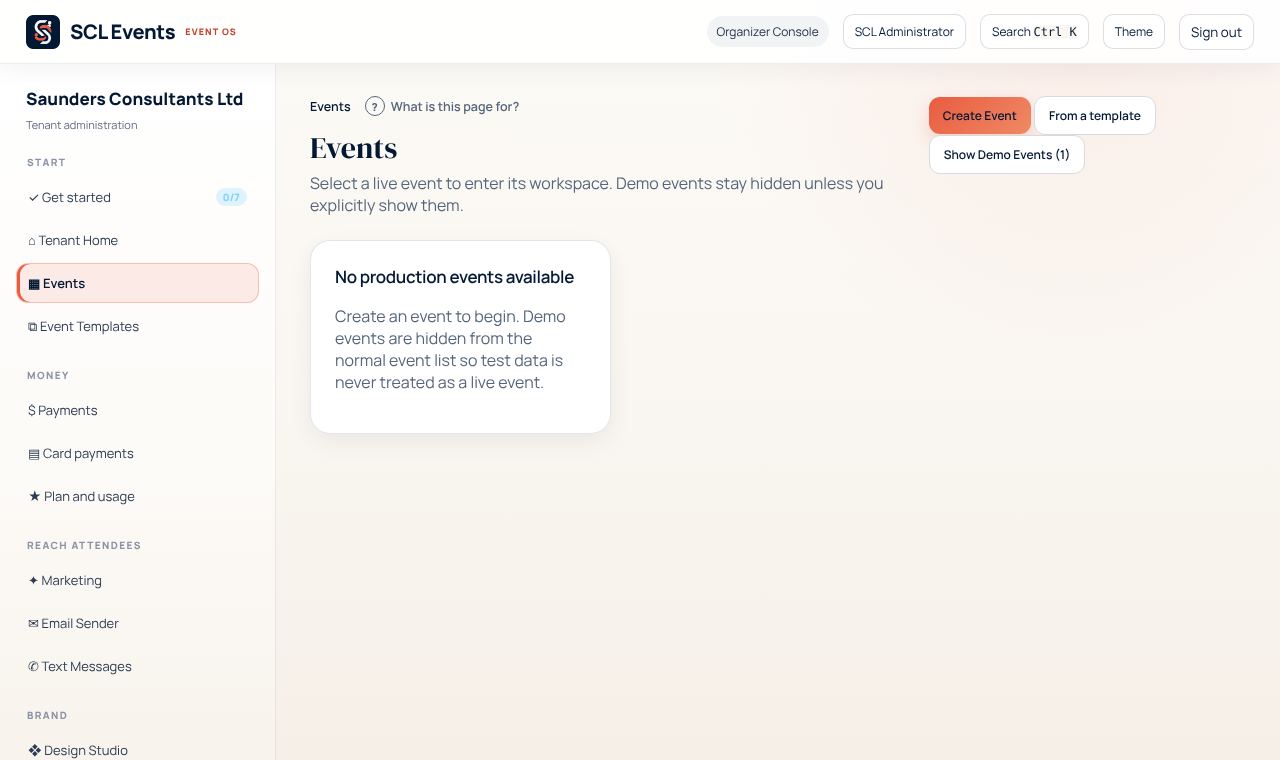
Where: Start › EventsChoose Create Event and enter its name, dates and venue. If you ran a similar event before, choose From a template instead, so this year's event starts from last year's set-up.
From the demo event. Your screen shows your own event. Follow the event's set-up guide
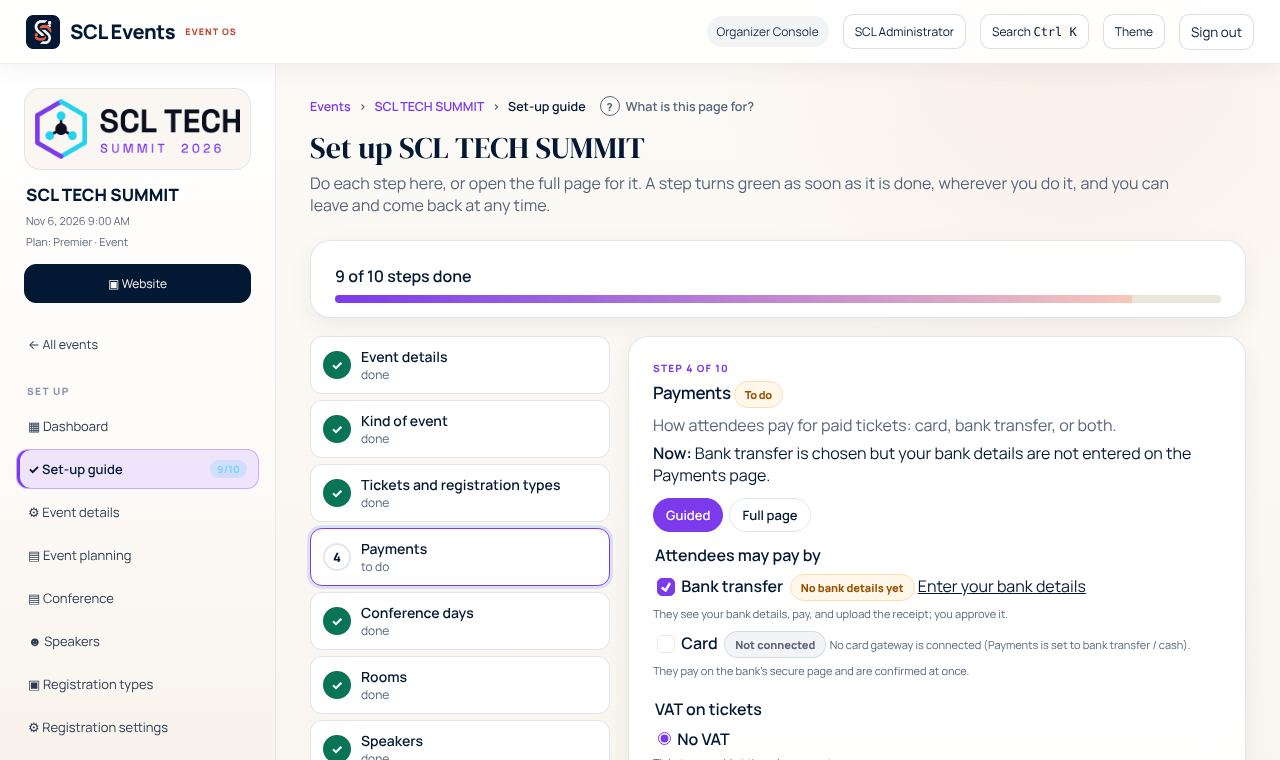
Where: The event › Set up › Set-up guideThe set-up guide takes you through Event details, Kind of event, Tickets and registration types, Payments, Branding and Review and publish. A conference also gets Conference days, Rooms, Speakers and Agenda. Save and continue moves to the next step; Next step skips one for now.
From the demo event. Your screen shows your own event. Publish
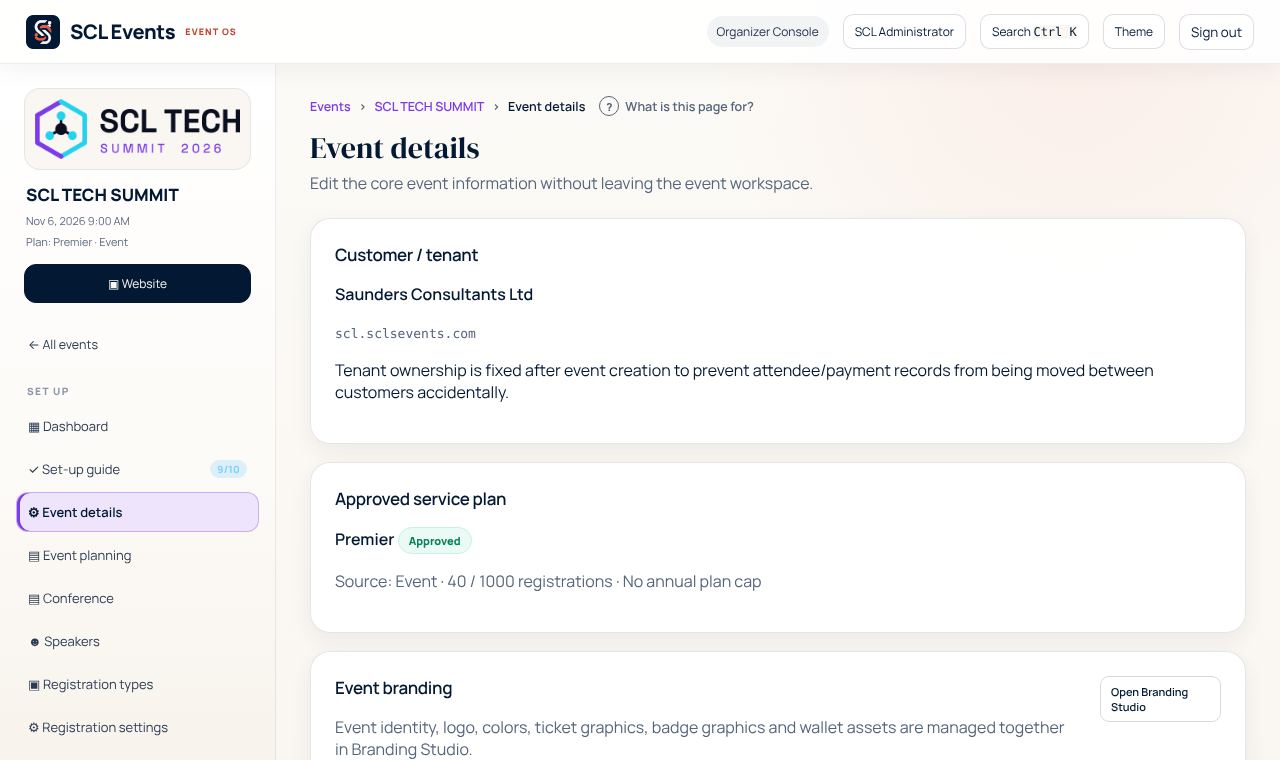
Where: Set-up guide › Review and publishReview and publish checks the event first. It will not publish while there is no registration type, while paid tickets have no way to pay, or after the event has ended. It warns you about a missing description, venue or logo. You can also publish from Event details: set Status to Published and choose Save Event.
From the demo event. Your screen shows your own event. Share it, and check the links
Where: The event › Website & brand › Website & link testWebsite & link test gives you the event's links and QR codes to share, and checks that each one opens. Your plan must be approved before an event can go live; Plan and usage shows where it stands.