 SCL Events
Check in at the door
Set up a door, sign in on a phone or scanner, scan each badge or ticket, and what each result means.
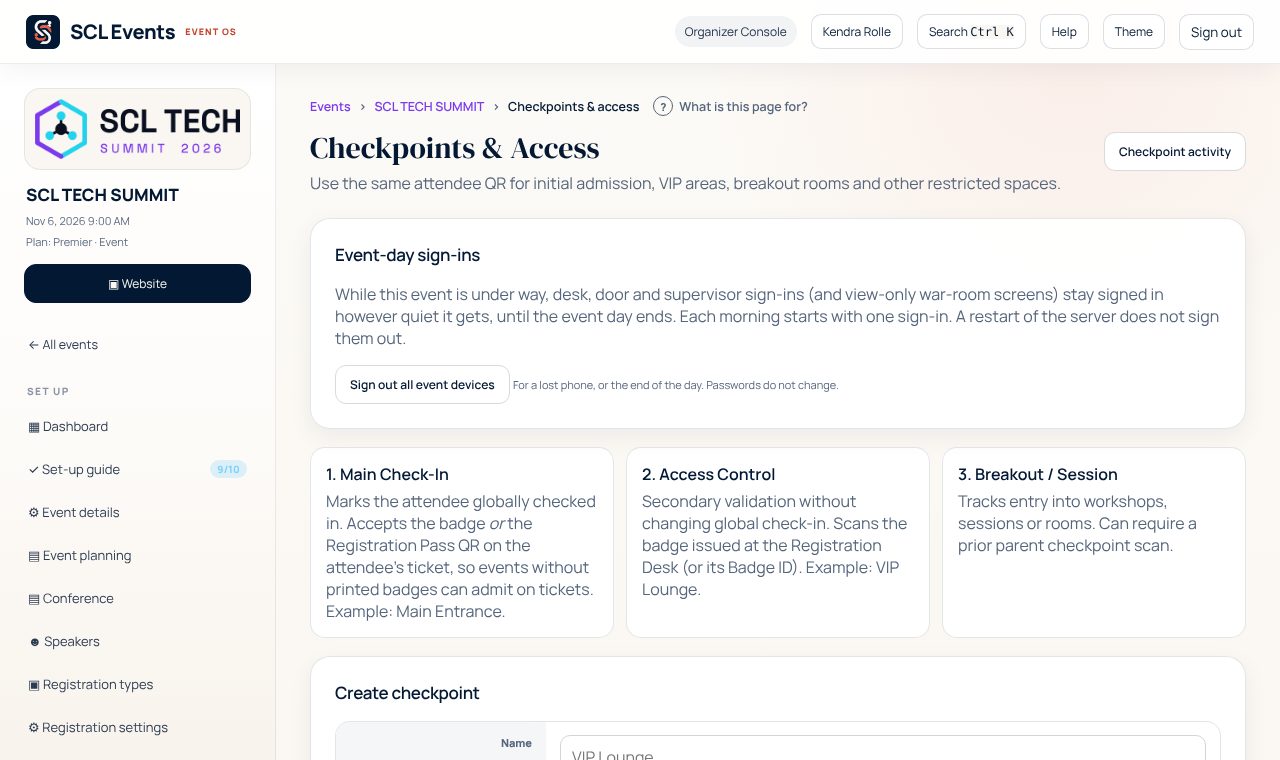
Set up each door
Where: The event › Event day › Checkpoints & accessEach door or room is a checkpoint. Use Main Check-In at the entrance: it checks the attendee in and accepts the badge or the QR code on their ticket. Use Access Control for a room such as a VIP lounge: it checks the badge without changing check-in. Registration Desk first, ticked, admits only attendees who have collected their badge at the desk.
From the demo event. Your screen shows your own event. Give each door person an account
Where: Team & security › Staff AccountsCreate an account with the role Check-In Operator and choose the checkpoint they work. Each person has their own account, so every scan shows who made it. The password you give them is temporary: they choose their own the first time they sign in.
Sign in at the door
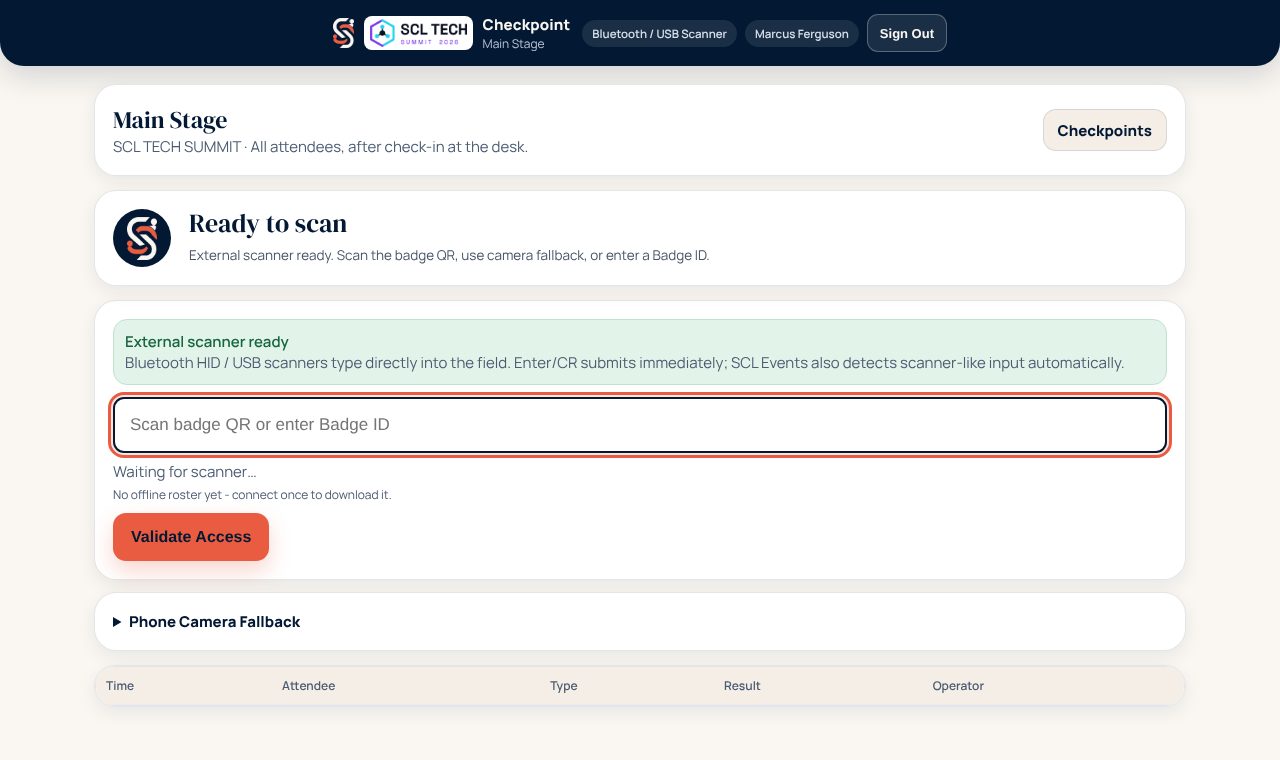
Where: The staff sign-in page (your SCL Events address followed by /staff)On the phone, tablet or scanner computer, open the staff sign-in page and sign in. The checkpoint opens straight away. It also saves the attendee list on the device, so scanning keeps working if the Wi-Fi drops for a while.
From the demo event. Your screen shows your own event. Scan the badge or ticket
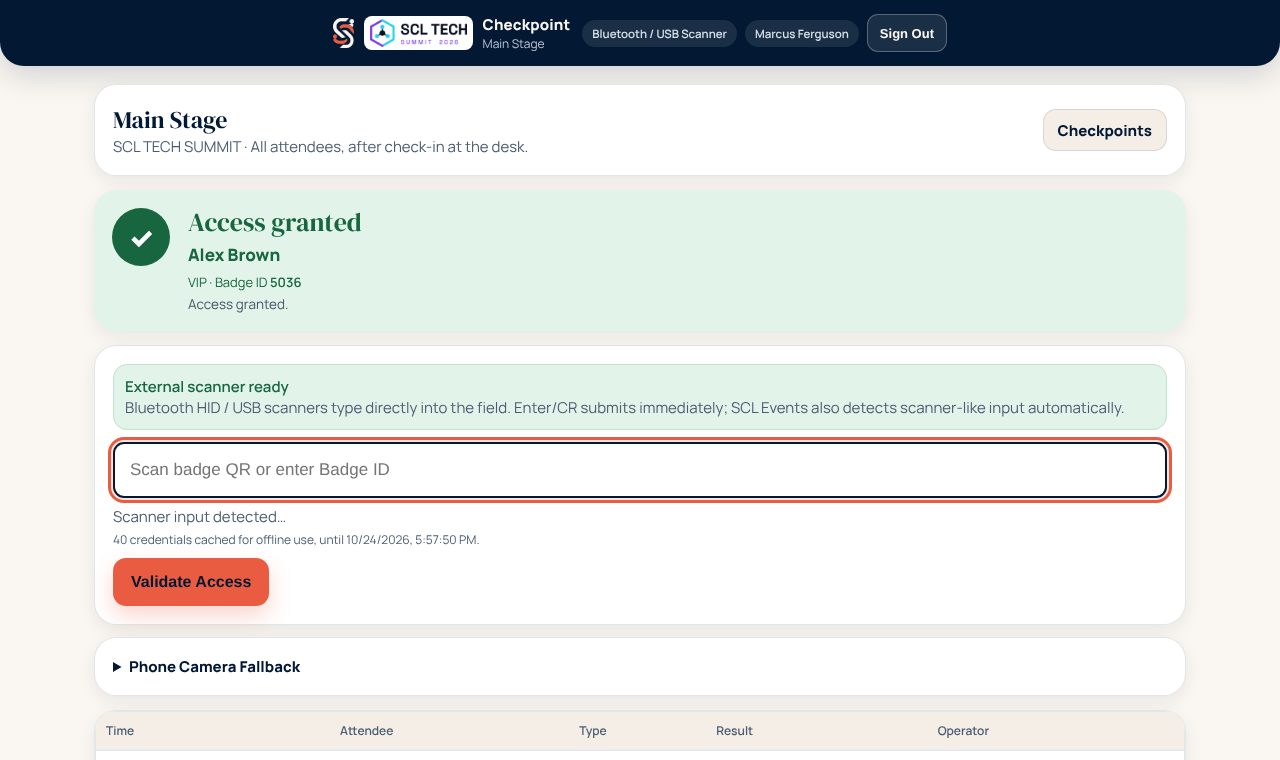
Where: Your checkpointWith a USB or Bluetooth scanner, just scan: the scanner types the code and the result shows at once. Without a scanner, open Phone Camera Fallback and point the camera at the code, or type the Badge ID printed on the badge and press Validate Access.
From the demo event. Your screen shows your own event. Read the result
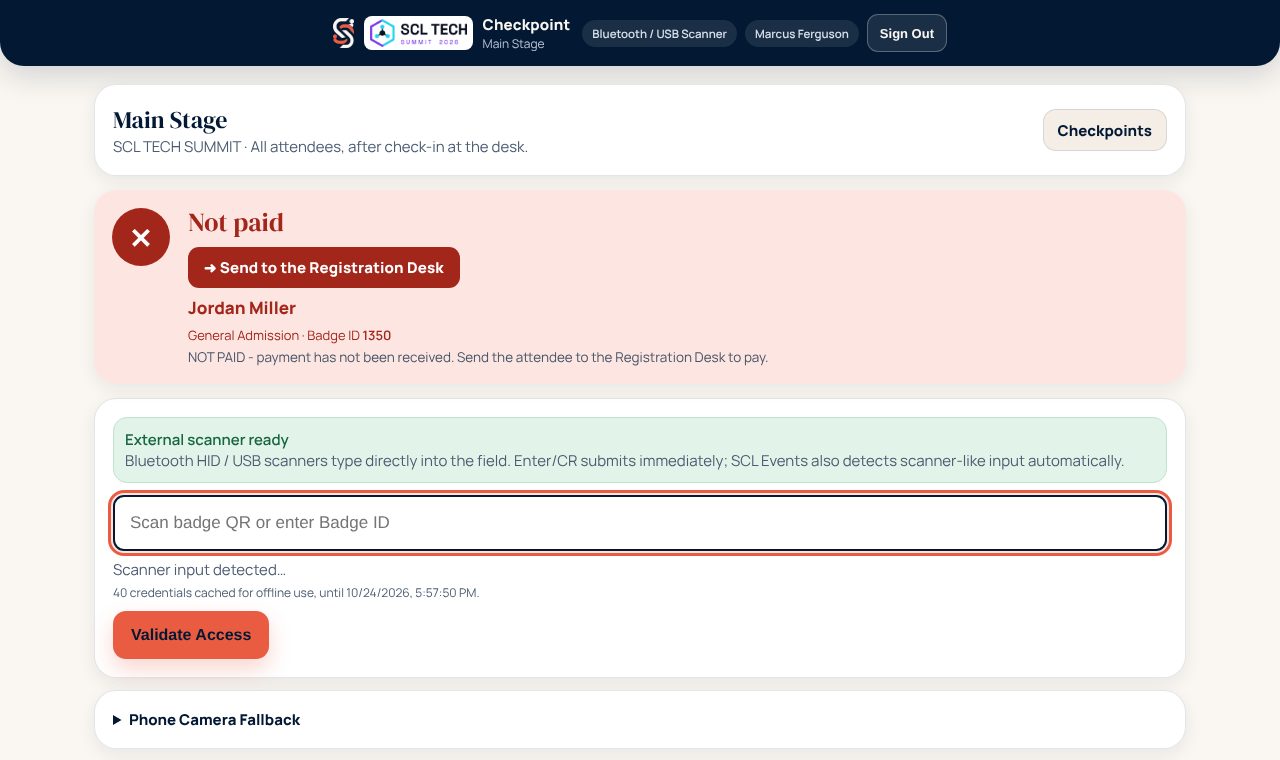
Where: Your checkpointGreen, Access granted: let them in. Red: do not admit. The reason is written underneath, for example Not paid or Not checked in, with where to send the attendee (usually the Registration Desk). Do not override a red result at the door; the desk can sort it out.
From the demo event. Your screen shows your own event. Watch the doors
Where: The event › Event day › Checkpoint activityThe organizer sees every scan as it happens: the door, the time, the result and who scanned. Check-in shows how many have arrived.